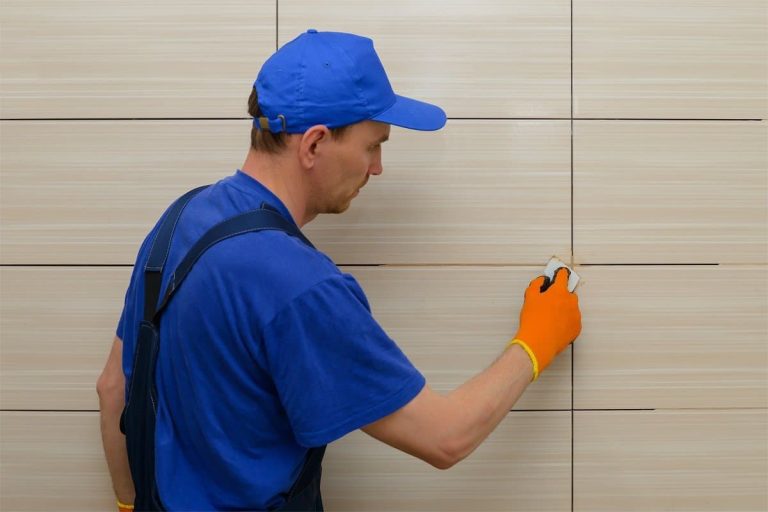
Tile is a beautiful addition to any home, but it can be prone to wear and tear. Regular upkeep and repair can ensure that your tile looks its best and stays clean.
When your grout begins to crumble and chip, it is time for a Tile and grout repair. In this article we will explore the process of repairing your grout and how to do it yourself.
Cracks and Chips
The result of a hard fall, an errant broom or just general ageing can leave you with unsightly cracks in your tile. You can fill these cracks using a clear epoxy, which is available in kits at hardware stores. Before you apply the epoxy, however, you should vacuum the area and clean off any dust or dirt. This will help the epoxy to stick to the tile surface.
Mix the epoxy on a sheet of cardboard (many 2-part epoxies also have specific applicator tools, but you can use an old popsicle stick). Then apply it to your cracked tile, filling in the crack completely and at least a half centimeter on either side.
You may need to repeat the epoxy application and sanding process until the crack is smooth and flush with the tile surface. You should then paint over the area with a water-based acrylic paint in a color that matches your tile. Then seal the paint to protect your repair.
Dirt and Stains
Most tile surfaces clean up well, but the grout that holds them in place is a different story. Grout is porous and absorbs spills, dirt, and grime like a sponge—and if not regularly cleaned and protected, it can stain or become discolored over time.
If your grout is heavily stained or if there’s a wiggle in the tiles, call in a professional to assess and repair it. Holes in the grout can allow water to seep into and damage the material, leading to further cracking and staining.
If you’re cleaning your own grout, start by sweeping or vacuuming to remove loose dirt. Then use a manufactured cleaner of your choice or make a natural cleaner by mixing baking soda and hydrogen peroxide into a paste. Apply the solution to the dirty grout, let it sit for several minutes, and scrub with a brush. Wash and rinse the grout when done. You can also try oxygen-type powdered bleach, which is gentler on the grout than liquid chlorine bleach.
Sealants
A penetrating sealant is a great way to protect tile and grout. It’s a thick liquid that is applied to the grout lines after it has been thoroughly cleaned. Once the sealant dries, it forms a barrier that keeps moisture from damaging your tile.
Keeping a protective layer of clear sealant on your grout can help to prolong its life and keep it looking new. It can also prevent the need for stripping, which is a long and labor intensive process.
If you don’t seal your grout, it will be much more difficult to keep clean. Without a sealer, dirt and bacteria can get trapped and will soak into the grout. The porous nature of tiles and grout makes them susceptible to stains, especially in high-traffic areas like bathrooms or kitchens. It can be a major health hazard if these toxins are allowed to build up, and it will make the job of cleaning your tile and grout much more difficult.
Tools
Grout is a mixture of water, sand, and cement and can be quite difficult to remove without special grout removal tools. If you try to scrape or chisel away the grout, you risk chipping the tiles and damaging the substrate underneath.
A dedicated tool like a rotary grinder is a great tool to have for grout repair and replacement. It is lightweight and comes in corded or cordless versions to suit your needs. It is also small enough to reach cramped spaces easily.
A grout saw is another handy tool that makes removing damaged grout much easier than using a hammer or chisel. If you want to make the job even quicker, look for a grout grabber attachment for your reciprocating saw. A good pair of safety gloves are also a must when working with power tools. They can help protect your hands from scratches and cuts as well as prevent dust from getting into your nose or eyes.