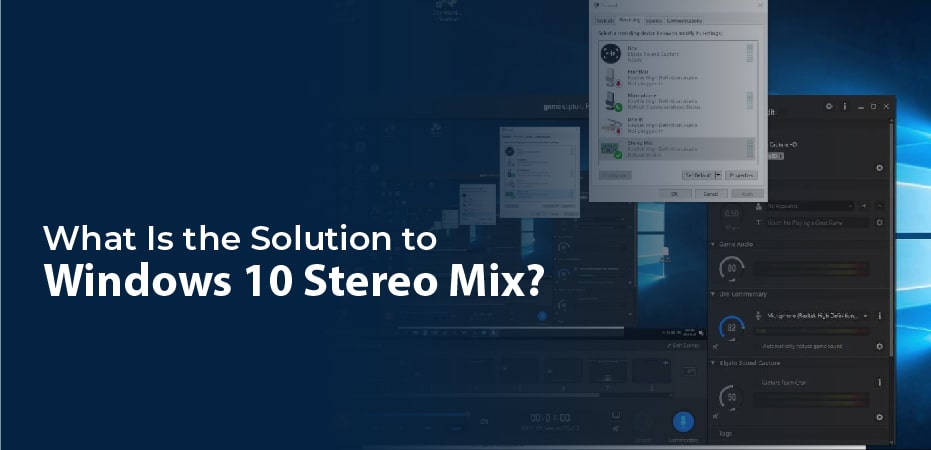
This tool records output streams from a computer, including broadcasting radio, speaker outputs, live streaming audios, and even system sounds. Some sound cards come with stereo mix by default, but most Windows 10 users don’t enjoy it by default as it is disabled.
Introduction of Stereo Mix
Stereo Mix allows you to record exactly what your speakers were outputting without converting it to digital or analogue. It is useful when recording audio from a website.
What Was the Purpose of Removing It in Windows 10?
Stereo Mix has never technically been removed – it was a driver-specific feature only compatible with specific hardware. Occasionally, I still see it on Windows 10 PCs, but it isn’t as common as it once was. There are many sound cards (especially onboard sound cards) that do not offer this feature. This isn’t a case of Microsoft being evil, or backing the recording industry.
What is the official replacement?
The WASAPI is now available for Windows, which is particularly supported by Audacity and Adobe Audition. A specific WASAPI input is presented that replicates the audio stream being played currently.
This new feature, however, is dependent on the program developers being able to support it, so it does not directly benefit those of us with Adobe Audition 3 licenses.
Using Audacity (it’s free and easy to use) is an easy way to record the output of your computer. Continue reading if you need another audio recorder.

What Is the Solution to Windows 10 Stereo Mix?
You can stream audio between several programs using several programs I have found. Among them are Virtual Audio Cable (VAC) and JACK. It is important to note, however, that these programs are not for the inexperienced. There is also a fee associated with VAC.
I have found that VB-Audio Cable is the best program I have found for Windows10 Stereo Mix.
The VB Audio Cable essentially creates a single output and a single input. This allows the output audio to be routed to the input. Virtual inputs can be recorded by any audio program.
How to Install VB Audio Cable
The installation process is straightforward. Follow these steps…
- Click here to download VB-Audio Cable
- Extract the downloaded file
- Download and run VBCable_Setup.exe or VBCable_Setup_64.exe
- Follow the wizard
- After installation, reboot your computer
Once it is installed, go to Control Panel > Sound and check that a new audio input and output have been created.
Setting both the input and output as default devices will make recording easier.
A control panel is included with VB-Audio Cable. The VBCable_ControlPanel.exe can be run directly from the downloaded ZIP folder without having to be installed. You will be able to select a sample rate up to 96 kHz here. It is also possible to monitor the audio levels.
How to Do Adobe Audition Configuration
The new audio devices may not be selected by default in Adobe Audition. To select them, follow these steps:
- Start Adobe Audition 3 (or restart it if it’s already running)
- Click Edit > Audio Hardware Setup
- Click “Control Panel” and choose your new inputs and outputs
- Then click “OK”.
From the Edit View drop-down menu, select the new inputs and outputs.
How To Listen Your Recording
If you set the VB-Audio Cable as your new Default Playback Device, you won’t be able to hear the audio through the speakers. Fortunately, Windows 10 has a solution for this problem.
Select the “Properties” option in the Sound Control Panel’s “Recording” tab and open the Sound Control Panel again.
“Listen to this device” is a checkbox on the “Listen” tab. When you check it, you can select your speakers or headphones and listen to all the audio as you record it.


